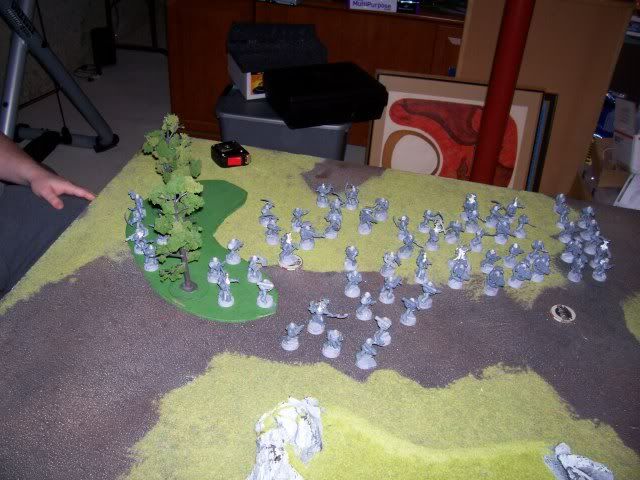
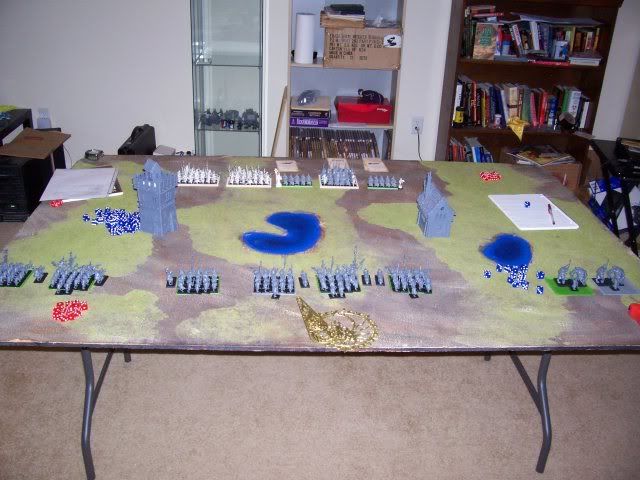
We decided to play the first mission in the book, at 2000 points. Sadly, most of my fantasy terrain was at a friends house, so we made due with minimal terrain.
I brought the Dark Elves. (consisting of the only models I own)
Supreme Sorceress w/Extra Level, Talisman of Preservation, Sacrificial Dagger, Ironcurse Icon, Lore of Death
Sorceress w/Extra Level, Dispel Scroll, Lore of Shadow
Sorceress w/Extra Level, Tome of Furion, Seal of Ghrond, Lore of Metal
Master w/Heavy Armor, Shield, Sea Dragon Cloak, Black Dragon Egg, Great Weapon, Battle Standard
10 Dark Elf Repeater Crossbowmen w/Musician
10 Dark Elf Repeater Crossbowmen w/Musician
10 Dark Elf Repeater Crossbowmen w/Musician
30 Dark Elf Warriors w/Shields, Full Command
19 Black Guard w/Full Command, Banner of Eternal Flame, Crimson Death
19 Black Guard w/Full Command, Banner of Murder, Relic Sword
Bryan bought Skaven (all models are from Island of Blood)
Warlord w/Hand Weapon, Warpstone Armor, Talisman of Preservation, Poison Attacks, Tail Weapon
Chieftain w/Halberd, Battle Standard
Warlock Engineer w/Extra Level, Warp Energy Condenser
Warlock Engineer w/Extra Level, Doom Rocket
Warlock Engineer w/Extra Level, Feedback Scroll
Warlock Engineer w/Dispel Magic
20 Clanrats w/Shields, Full Command
Warpfire Thrower
20 Clanrats w/Shields, Full Command
Warpfire Thrower
20 Clanrats w/Shields, Full Command
Warpfire Thrower
20 Clanrats w/Spears, Shields, Full Command
Poisoned Wind Mortar
20 Clanrats w/Spears, Shields, Full Command
Poisoned Wind Mortar
20 Clanrats w/Spears, Shields, Full Command
Poisoned Wind Mortar
2 Rat Ogres, Beastmaster
2 Rat Ogres, Beastmaster
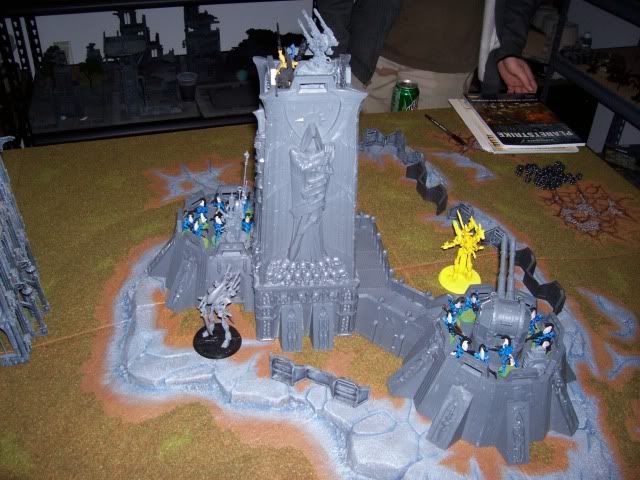
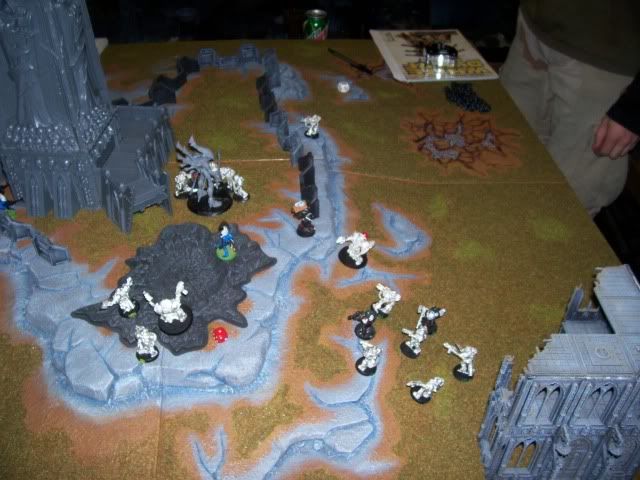
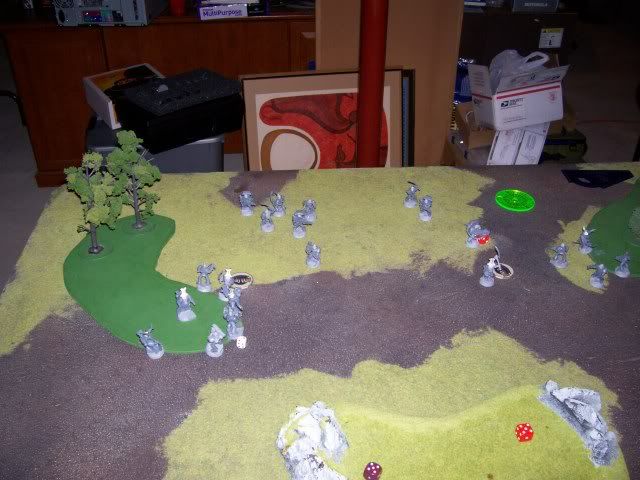
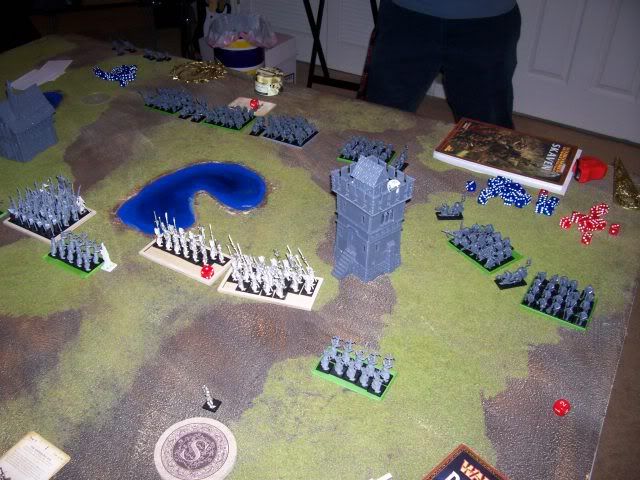
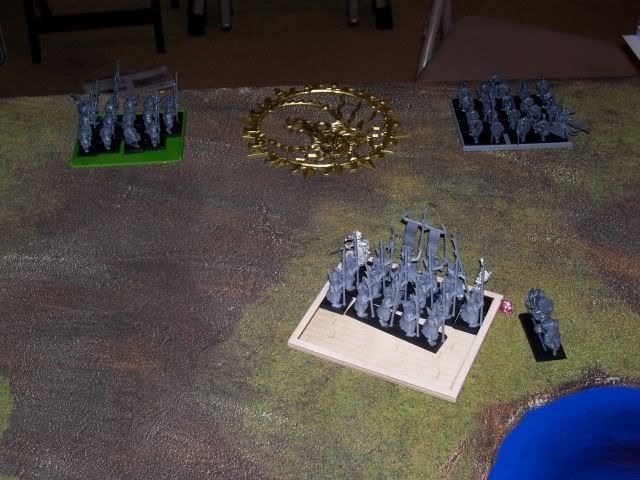
I deployed first and finished first. We basically lined up across from one another.
Two pictures of the deployment.

I win the roll to go first.
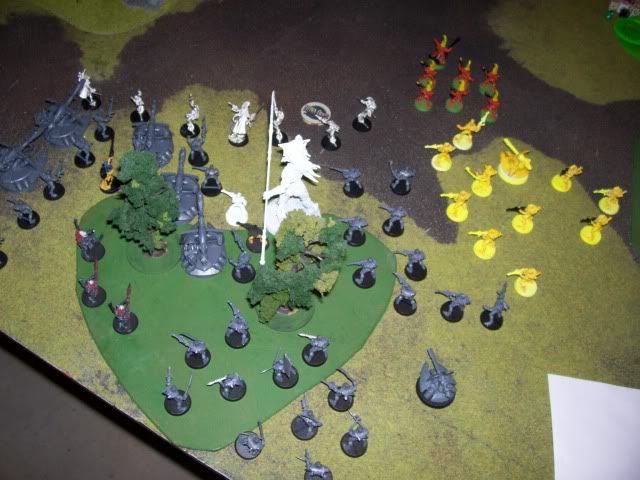
Turn 1:
Me: I move everyone basically forward. In my magic phase, I kill 3 rats with the Purple Sun of Xereus. I hit the Battle Standard Bearer (BSB) with Mystifying Miasma.
In my shooting phase I kill 4 rats from the BSB unit and 4 from the generals unit.
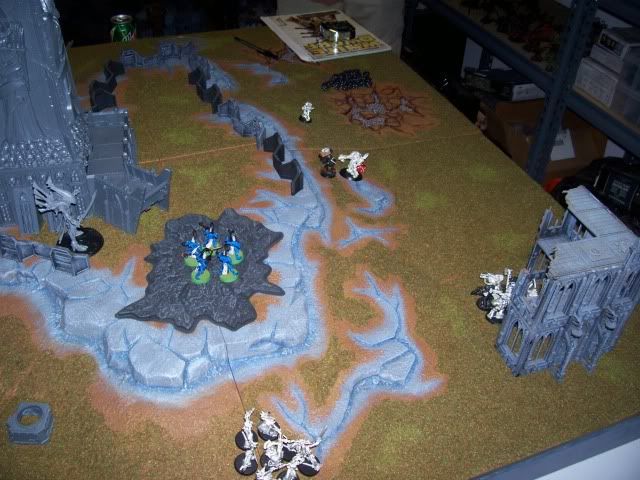
Bryan: The Rat Ogres move up on Bryan's right. On his left, the 3 Skaven blocks move forward Warp Lightning kills 4 Black Guard. The mortars kill 2 more Black Guard from each unit. (ouch)
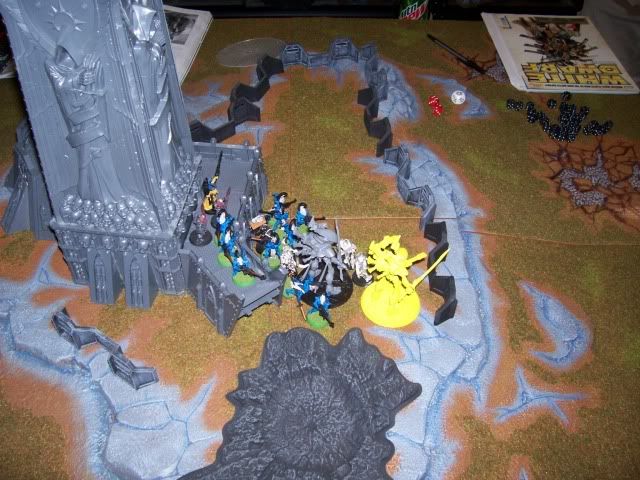
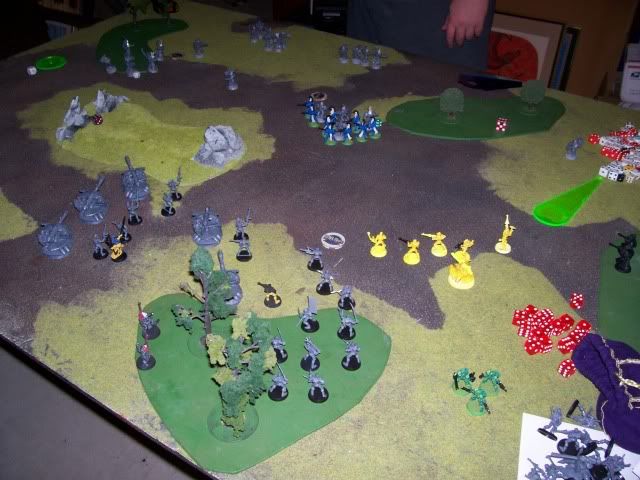
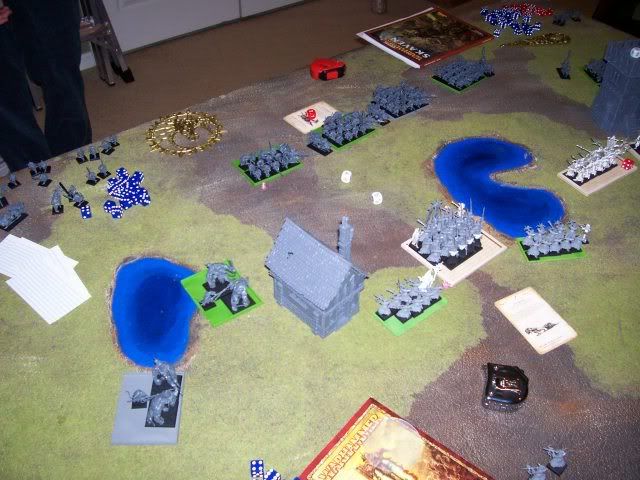
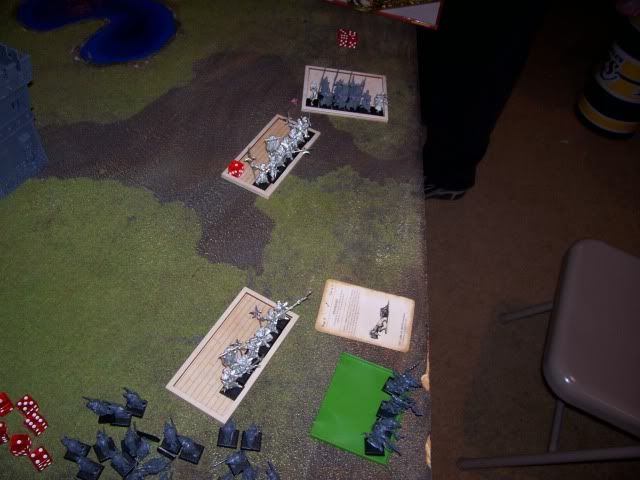
Two pictures from the bottom of turn 1:
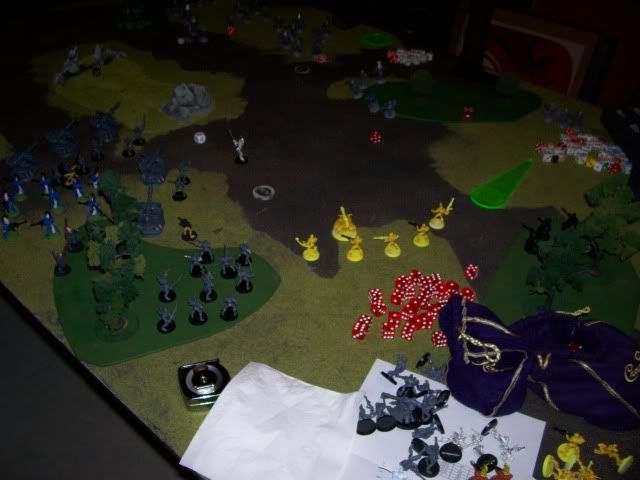
Turn 2:
Me: I move up and move a unit of Black Guard into the Tower.
In the Magic Phase, I use the Fate of "Bjunda" and kill off the BSB. I use "Soulblight" on every enemy unit within 24 inches. In the process, I suffer 2 miscasts. Due to this, I wound every sorceress and lose 4 Spearmen. In my shooting phase, I manage to kill a Mortar and a warpfire thrower.
Bryan: The skaven on the right charge a unit of Crossbowmen. In his magic phase, he miscasts a "Scorch", killing 4 Spearmen and a Crossbowmen. He then fails to cast "Death Frenzy".
In the shooting phase, both Warpfire throwers misfire, and then, a mortar misfires (for the "Hat Trick"). The other mortar kills a few models.
In close combat, the Dark Elves lose 3 and kill 2 Skaven, losing by 5. I roll snake eyes. Game on!
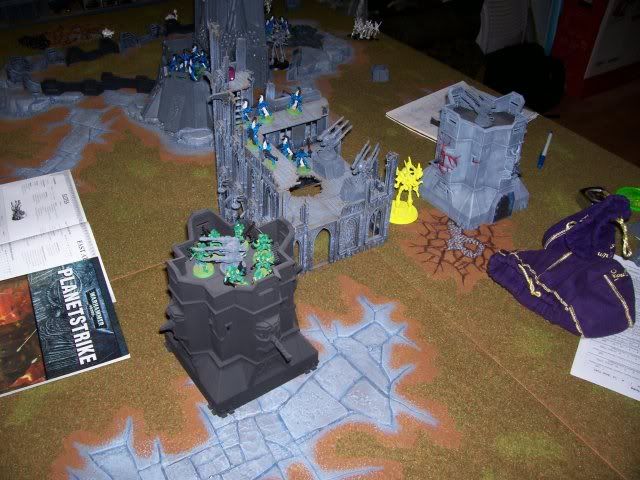
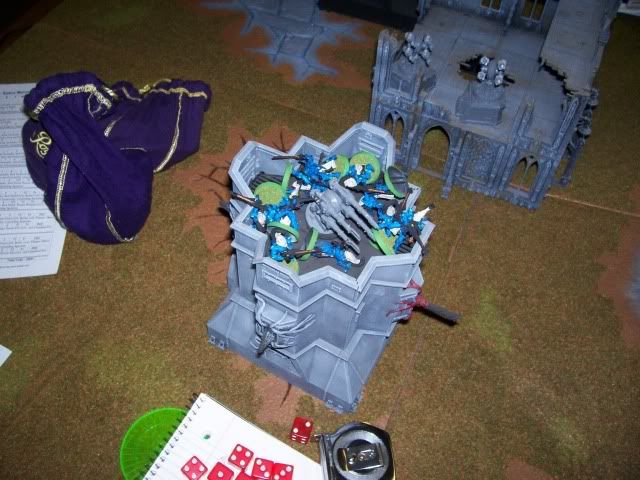
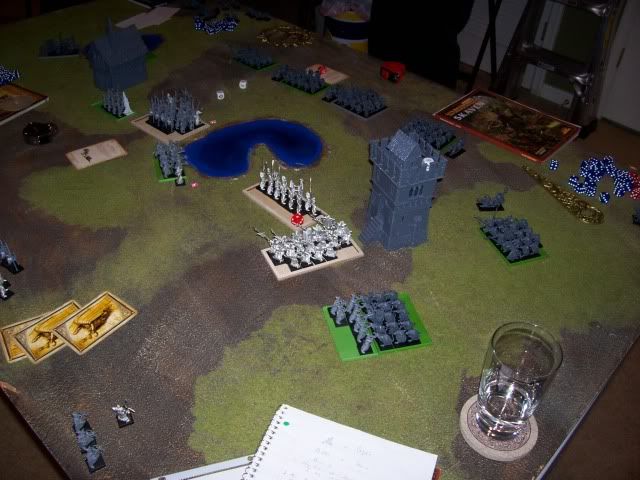
Two pics from the bottom of turn 2:
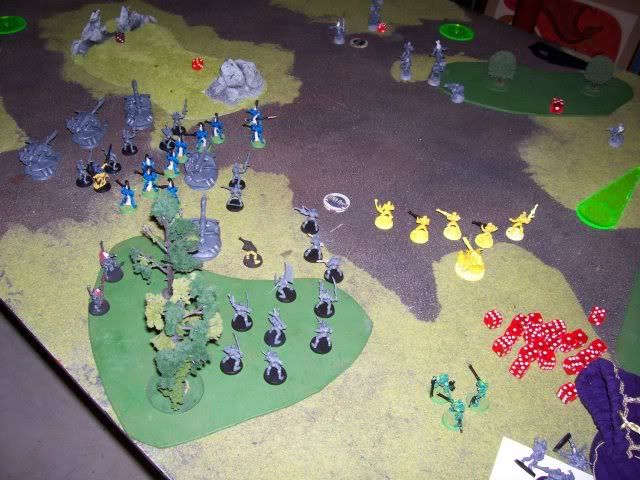
Turn 3:
Me: I charge the Black Guard at a Skaven unit, they flee. I charge another unit with the Spearmen (BSB and Supreme Sorceress) they Hold.
In my magic phase, I miscast something, killing the Shadow Sorceress and 5 Crossbowmen.
My shooting then kills no one. Crap.
In close combat, I kill 3 Skaven, lose 1 Crossbowmen and tie the combat.
In the other combat, I kill 7 Skaven, lose 4 Spearmen and break the Skaven (who are run down)
Their destruction causes 2 nearby spear units to break (poor Skaven Leadership!!)
Bryan: My BSB eats her Black Dragon egg, party time. The rat ogres charge the side of the Spearmen block. One Skaven unit rallies, the other runs 3 inches. Warpfire goes off and kills 6 from one Black Guard squad and 7 from the other. (ouch)
In close combat, the Skaven kill the Crossbowmen. The Rat Ogres and Mortar that I charged both die. I lose a warrior. The lone Beastmaster breaks.
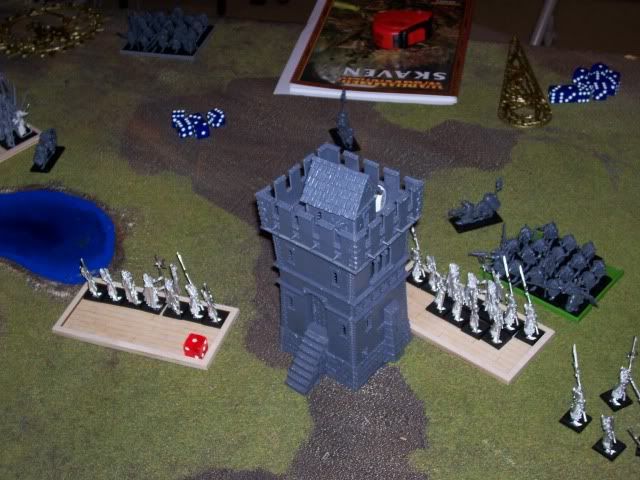
Two pics from the bottom of Turn 3:
Turn 4:
Me: I charge with both units of Blackguard and the Spearmen group. Hold, Stand and shoot, and Hold are the charge reactions. I lose no black guard to the shooting. My Magic phase fails epically. My shooting kills a mortar.
In Close combat the Black guard lose 3 (including champion) but kill 7 (including champion)
The Skaven break and get away. The Spearmen wipe out the Skaven spear block.
Bryan: No charges. The Rat ogre unit marches. The packmaster continues running, the spears run off the board. The General and his friends rally. In his magic phase he attempts "Death Frenzy" but I dispel it.
The warpfire thrower kills 6 Black Guard. The Black Guard beat down the cannon they overran into.
In our haste to refuel our beer, I forgot to get pictures of turn 4.
Turn 5:
Me: I charge the Warpfire cannon and the Generals unit.
In my magic phase, I miscast but am able to put the generals unit at -1 S, -1 T.
I have epic shooting and kill a Rat Ogre and his Packmaster.
The Blackguard destroy the warpfire cannon and the unit with the general, running them down.
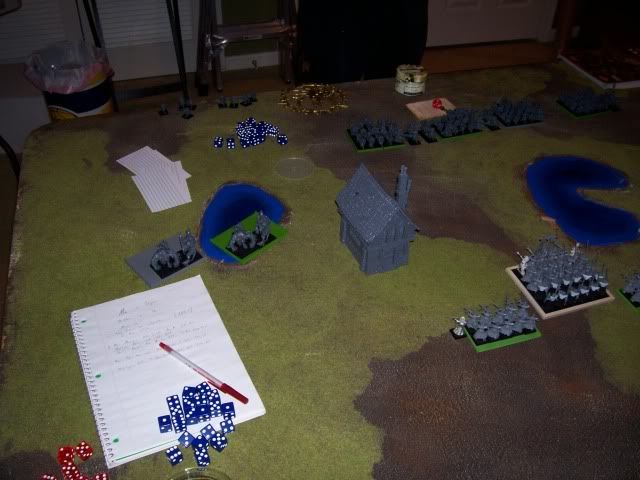
At this point, Bryan concedes.
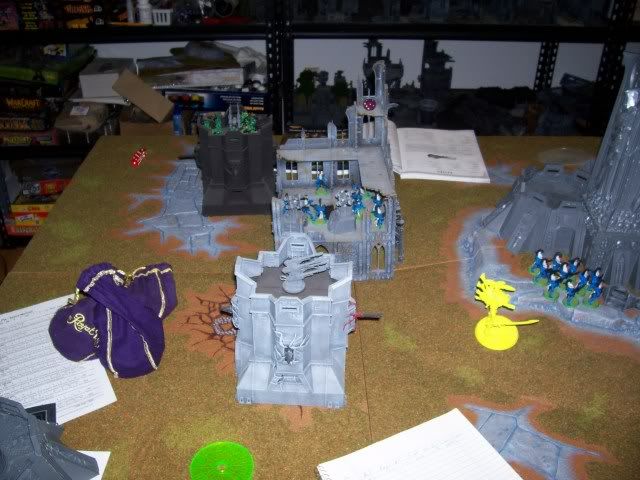
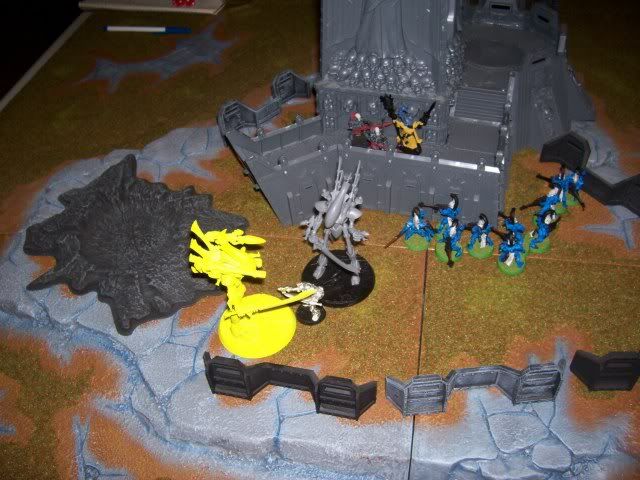
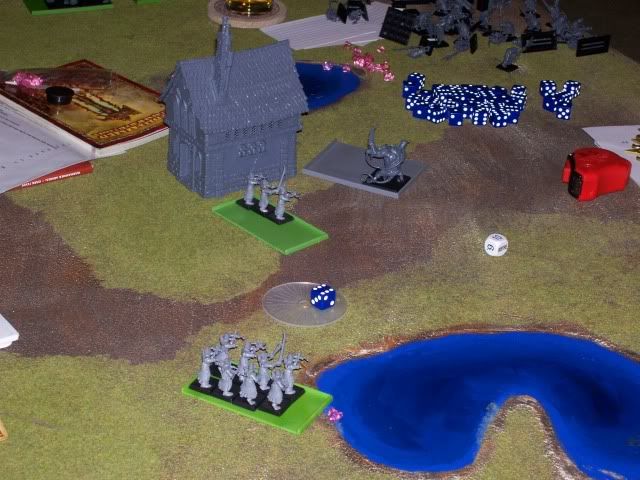
Here are 3 pictures showing the chaos at the end of the battle.

-Mike